Red, White and Bloom
Welcome to Red, White & Bloom—where sweet summer style meets patriotic petals in the most delightful sugar cookie form! If you’ve been dreaming of 4th of July cookies that are both eye-catching and cozy to create, you’re in the right spot.
These flower cookies are part of our festive decorating series and feature two unique designs that play with color, shape, and sparkle. Each one brings its own twist on red, white, and blue, and together they’re a celebration in royal icing. If you missed the firework cookie tutorials, you can catch them in this post—they’re a must-see and include helpful supply and tool tips, too!
Let’s dip into these patriotic petal cookies!


Cookie One: “Watch it Bloom” Flower with Multiple Star Sprinkle
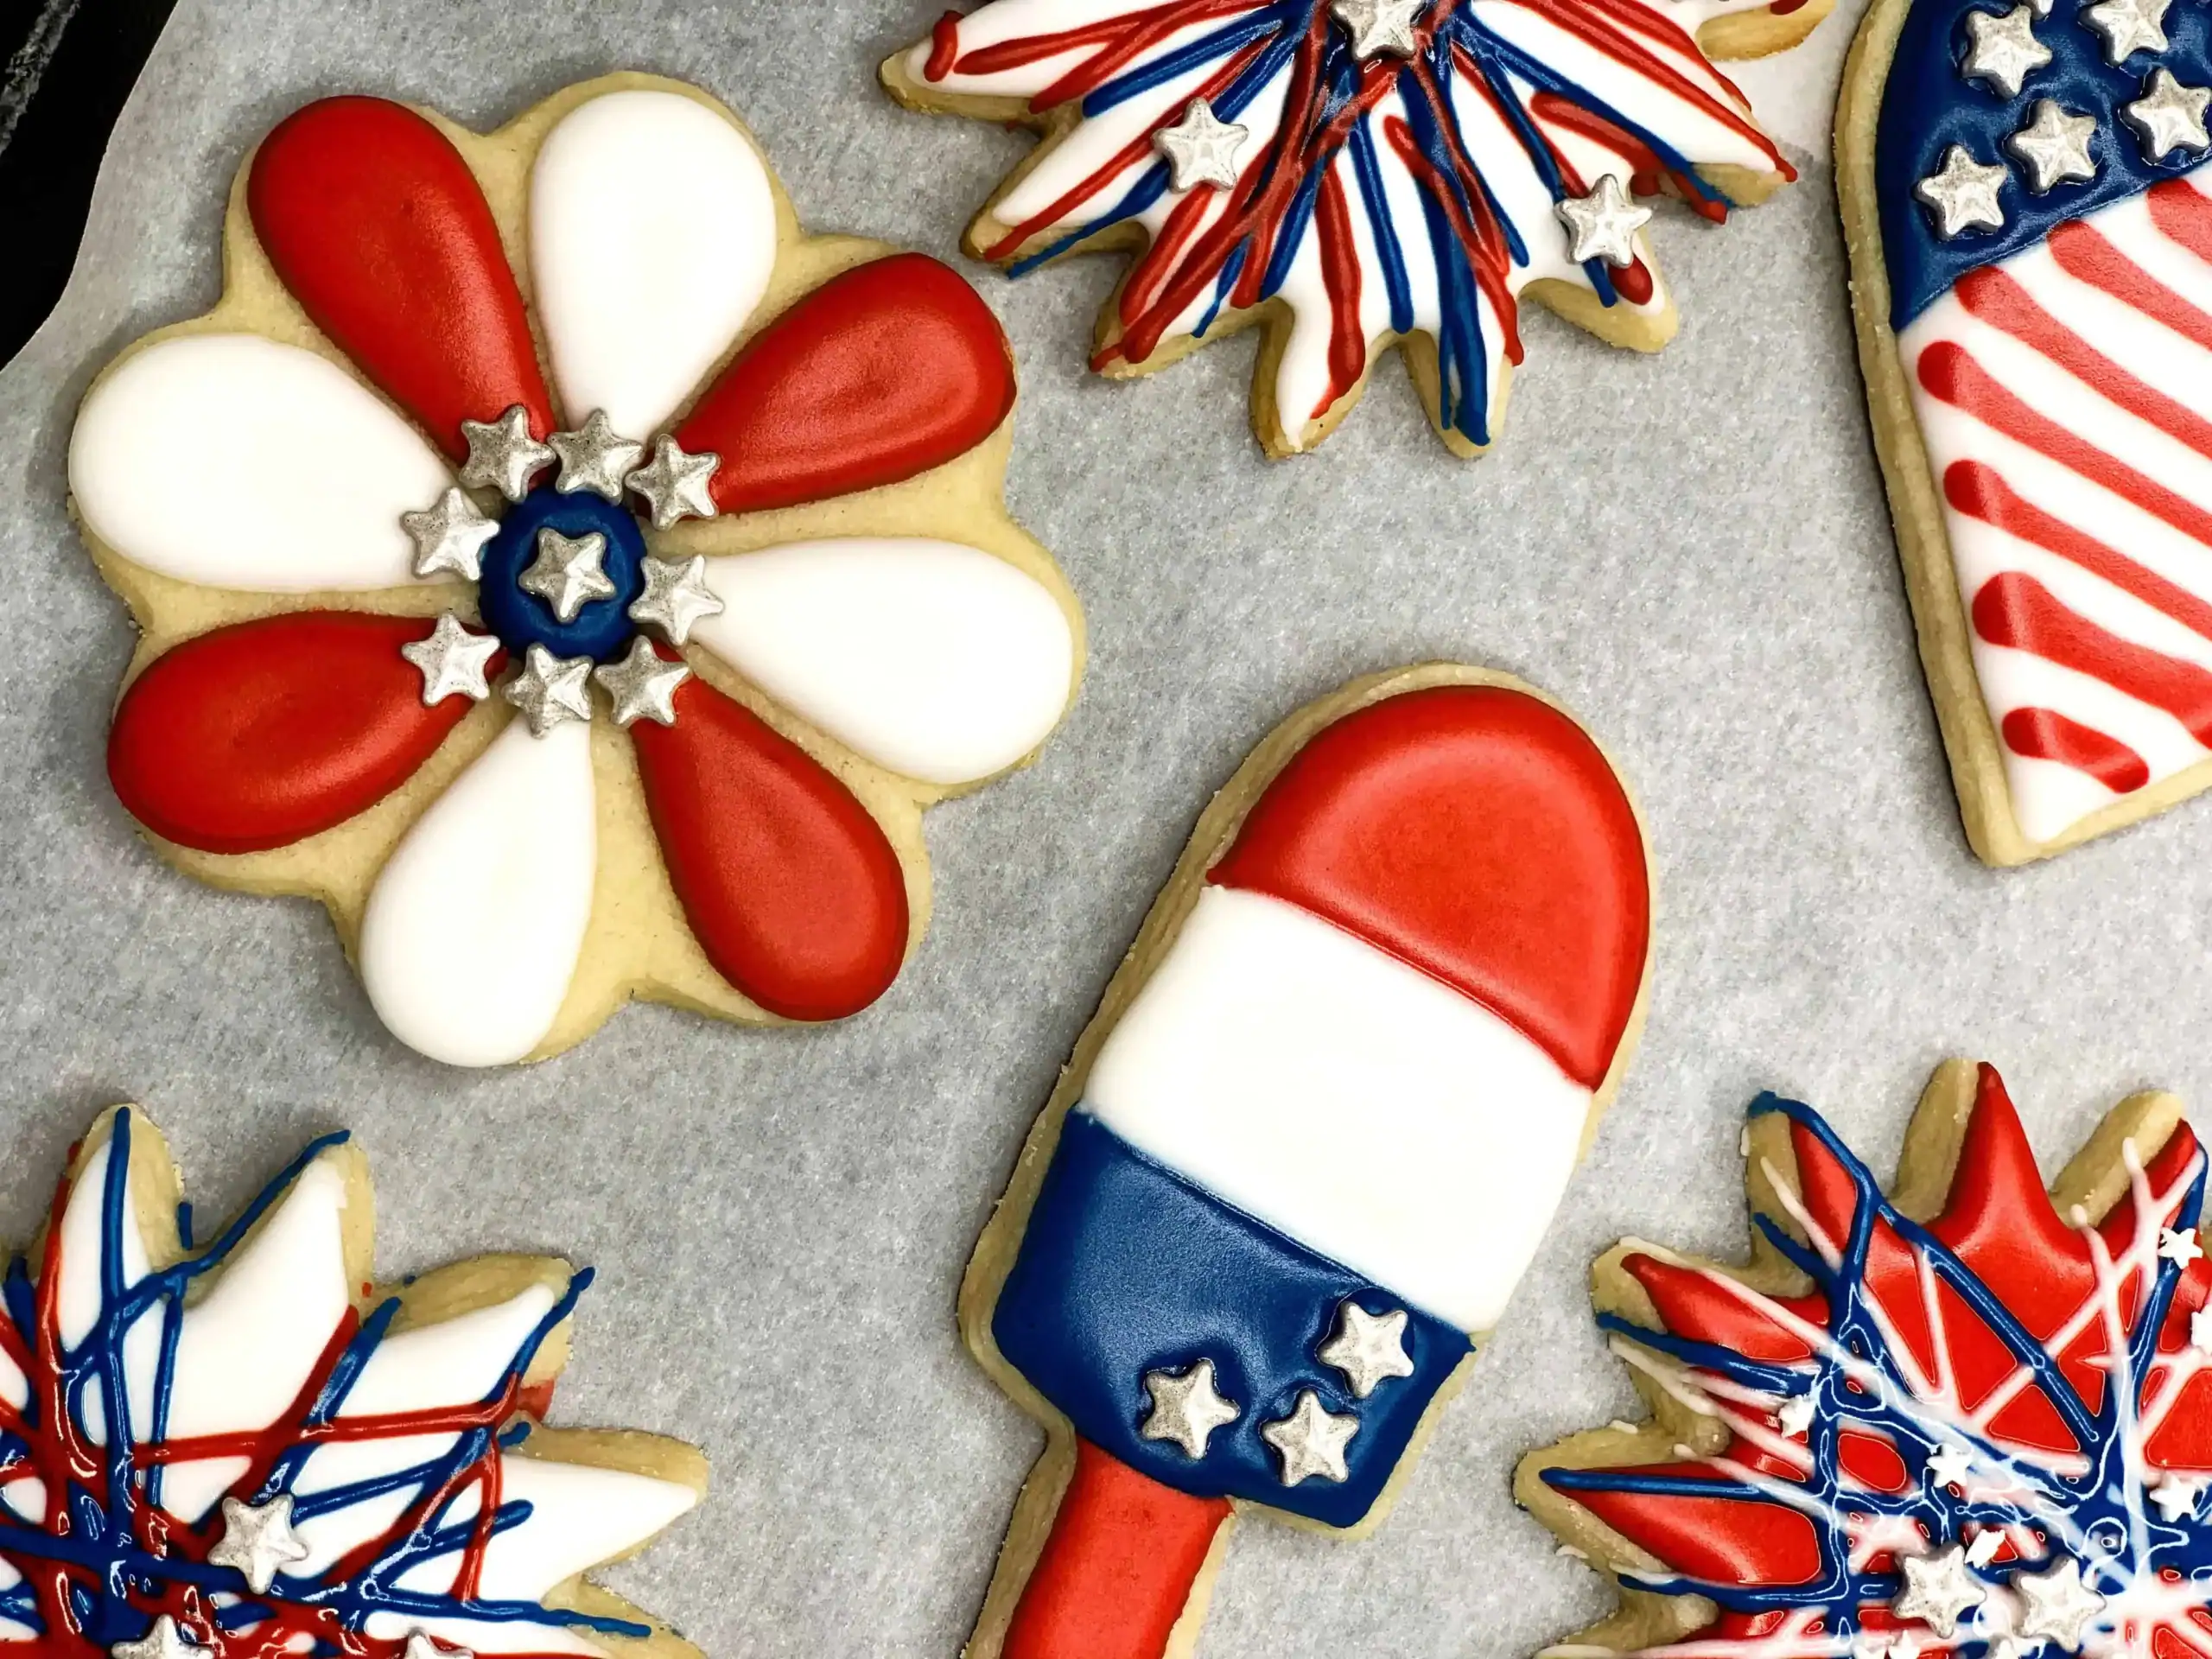
This sweet bloom leaves a little breathing room—intentionally! The negative space around the petals makes the design feel airy and refined, letting each petal shine. I absolutely love using this technique because it surprises the eye and puts emphasis on the floral shape.

(⚡ P.S. These cookies may look like they’re decorated at lightning speed—but that’s just a little video magic! The clips are sped up to keep things zippy and fun (no need to watch icing dry!). Take your time, sip something sweet, and enjoy the decorating process. 💖)
This design may look simple, but there’s something special about the contrast between the bright white icing and bold red petals. The star sprinkles adds just the right amount of pop around the flowers blue center, without overwhelming the floral feel.

To add extra polish, I mixed a bright white food coloring into the icing to give it a luminous, almost iridescent glow (it’s not actually iridescent, but it gives a lovely illusion!).
When placing larger sprinkles like stars, I recommend using a good pair of tweezers—the kind that opens when you squeeze and closes gently when you release. It gives you full control for perfect sprinkle placement. I found mine in a local craft store.
But first, if you’re just joining us for the sugar cookie fun, here’s where we’ve already been on this 4th of July cookie trail:
Cookie Two: Bloom’n in Red, White & Blue
The second design is a more traditional flood-fill style, but with a sweet twist. I started with the red petals—outlining and flooding them first, then letting them set for about 10–15 minutes before adding the white layer.

Rather than letting the second flood fill touch the first, I outlined each white petal fully and carefully filled them without overlap. This gave the cookie a lovely three-dimensional petal effect—subtle, but oh-so-pretty.
In all honesty, on some of my cookies the white did spill against the red. The look is still great, cookies is delicious, family and friends will still be impressed and no one is likely to notice any difference 🙂
You’ll notice this cookie has a single star sprinkle centered in the middle and in the video that’s were the decorating stops. Except in the original video plan, I added outlined details to this cookie while the video was recording…or so I thought. My phone overheated (summer filming woes!) and shut off, so that outline detail didn’t make the final cut. But if you look closely near the end of the video, you can see that sweet detail in the finished cookie!

A few more tips:
- Color your icing before thinning for consistency (outline, flood, etc.)
- Let your icings rest overnight before decorating—this deepens and smooths the colors
- Always keep a little extra un-thinned base icing on hand in case you need to adjust
Need a supply refresher?
While I touch on tools and supplies here, you’ll find the full toolkit—including my favorite tipless bags and food color tricks—in the firework cookie post. Each post in this roundup is part of a series, and they all interconnect with helpful tips, supply guides, and decorating ideas.
So whether you start here or with the firework cookies, you’re covered!
The sweet way—one perfectly iced cookie at a time.
Enjoy decorating, and don’t forget to check back for the next cookie in the series! 🌟
Pin & Share