Best Flaky Pie Dough Recipe
Best Flaky Pie Dough Recipe with Butter (Easy Homemade Pie Crust for Apple Pie & More)
Best Flaky Pie Dough Recipe with Butter is the foundation for an easy homemade pie crust that bakes golden, tender, and perfectly layered — whether you’re making classic apple pie, rustic tarts, or a cozy family dessert from scratch.
If you’ve ever struggled with tough crust, tearing dough, shrinkage, or pie crust that simply refused to cooperate, this butter-based flaky pie dough recipe changes everything. Made with simple pantry ingredients — flour, sugar, kosher salt, cold water, and real butter — this homemade pie crust is soft, pliable, and designed to create beautiful, flaky layers without shortening or complicated techniques.
And yes… it works.
Let’s build it step-by-step so you can make it successfully the first time.
Ingredients for Flaky Pie Dough
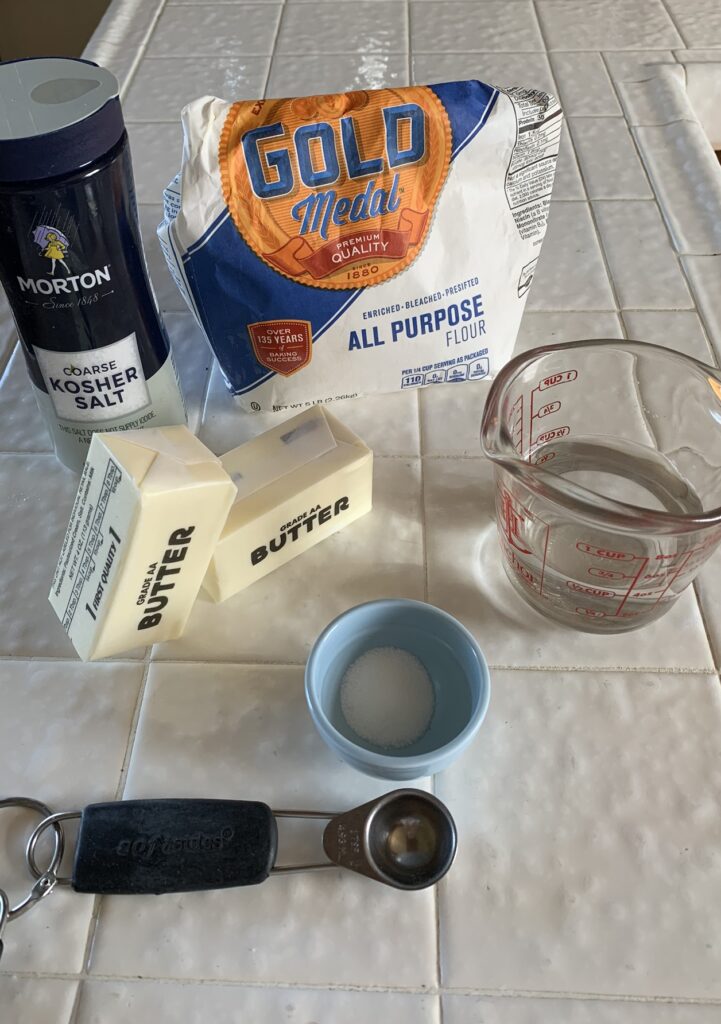
You only need five ingredients:
• All-purpose flour
• Sugar
• Kosher salt
• Cold water
• Butter (real butter — no shortening, no oil)
That’s it. Simple ingredients. Proper technique. Big payoff.
Step 1: Combine the Dry Ingredients
In a large mixing bowl, whisk together the flour, sugar, and kosher salt thoroughly. This ensures even distribution so the crust has balanced flavor throughout.
Whisking also lightly aerates the flour, which helps create a more tender dough.
Step 2: Prepare the Butter (The Flaky Secret)
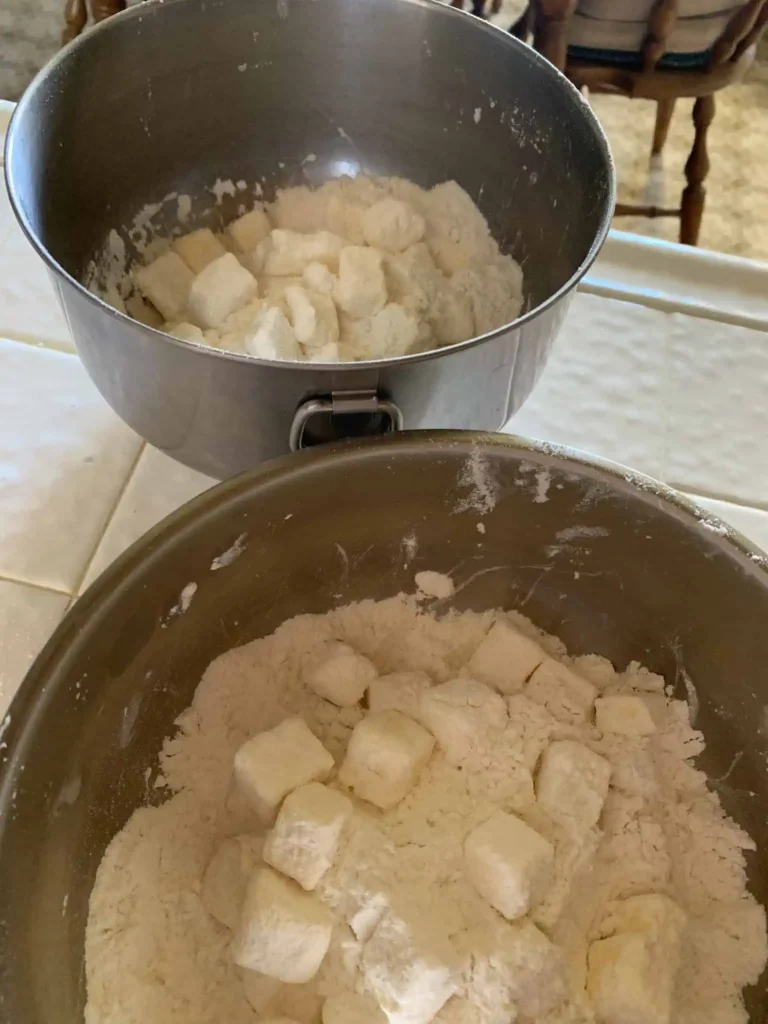
Your butter should be cold but slightly pliable — not rock hard, not soft and greasy.
Cut it into ½-inch cubes. Add the cubes directly into the flour mixture and toss until completely coated.
Now comes the magic.
Instead of cutting the butter in with a pastry cutter, gently press each cube between your fingers to flatten it. Think smash and release. Flatten. Toss back into the flour. Repeat.
Those flattened butter pieces are what create steam pockets in the oven.
Steam = layers.
Layers = flakiness.
The mixture will look shaggy and uneven. That’s perfect.
Step 3: Add the Cold Water

Cold water is critical. Very cold.
Drizzle the water slowly around the bowl in a circular pattern rather than pouring it in one spot. This distributes moisture evenly.
Use a spoon to gently combine the mixture. It will look crumbly at first. Keep mixing until larger clumps form.
Press the dough lightly against the side of the bowl to help it come together. Avoid aggressive kneading — we are combining, not building gluten.
When the mixture forms a loose ball, transfer it to a generously floured surface.
Step 4: Roll and Create Layers

Lightly knead just enough to bring the dough together.
Roll into a rough rectangle. It does not need to be perfect.
Fold the rectangle into thirds (like folding a letter). Then fold it in half. This creates stacked butter layers.
Turn slightly. Roll again. Repeat the fold one more time for extra flakiness if desired.
If making multiple pies, divide the dough now and wrap tightly.
Temperature matters. If the dough becomes warm or sticky, refrigerate for 15–20 minutes before continuing.
Cold butter is the entire strategy.
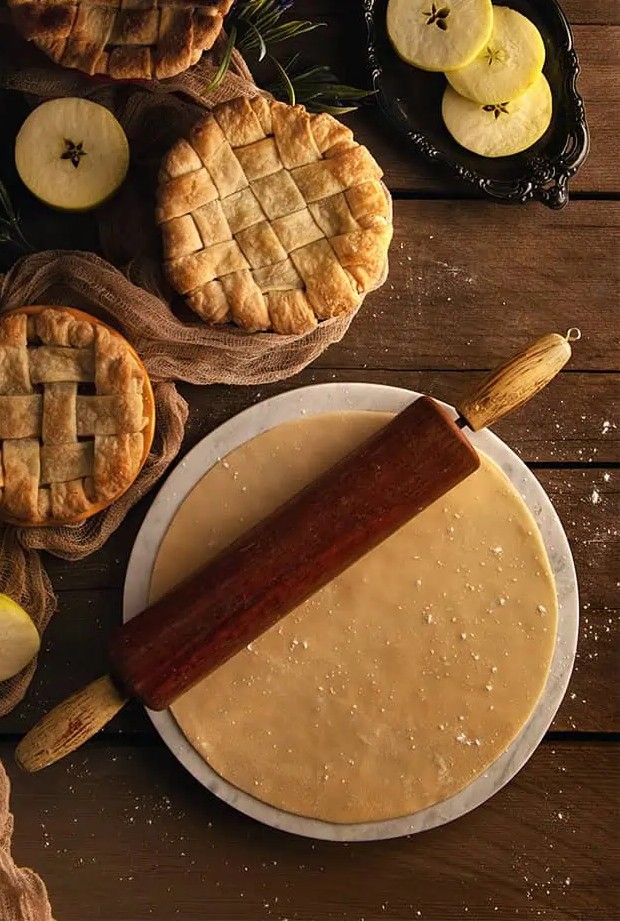
Step 5: Roll the Bottom Crust
Generously flour your surface.
Roll from the center outward, rotating the dough frequently. Lift and re-flour underneath if needed.
Roll to about ⅛ inch thickness and large enough to fit your pie plate with overhang.
To transfer:
• Fold gently in half, or
• Drape over your rolling pin
Ease it into the pie plate without stretching. Stretching causes shrinkage while baking.
This dough is soft and pliable when handled correctly. No tearing. No patchwork repairs. Just smooth placement.
Apple Pie Filling Option
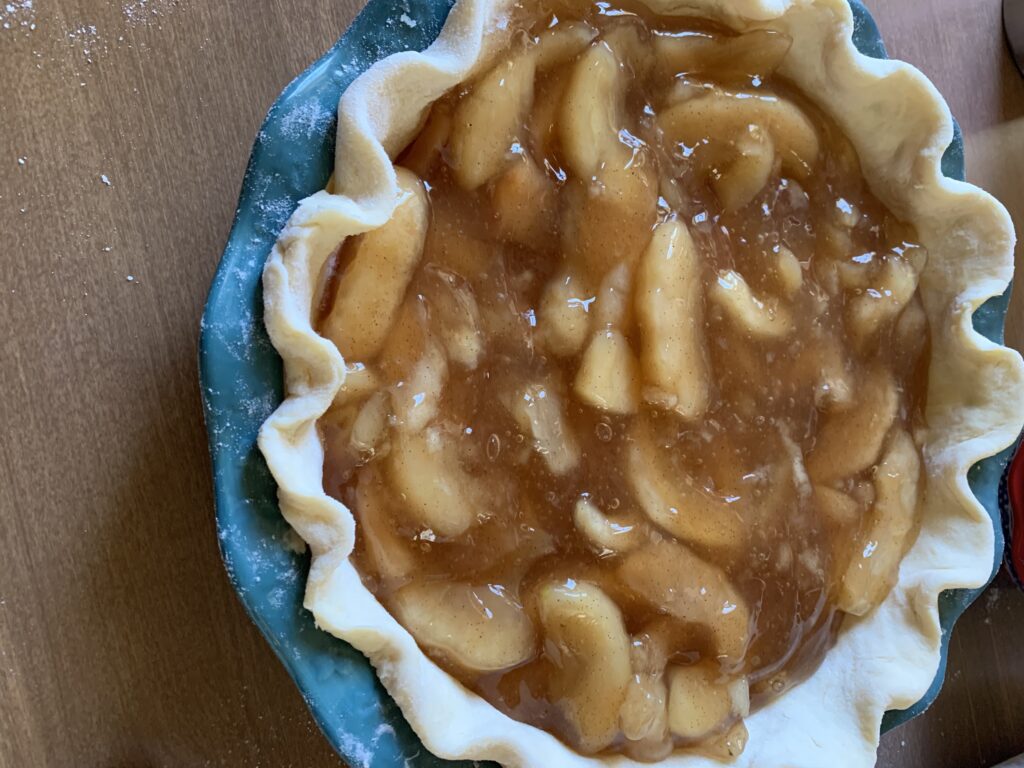
For a semi-homemade apple pie, quality canned apple pie filling works beautifully. Add a sprinkle of cinnamon, nutmeg, or a squeeze of lemon to elevate the flavor if desired.
Convenience has its place. The crust is homemade and exceptional — that balance works.
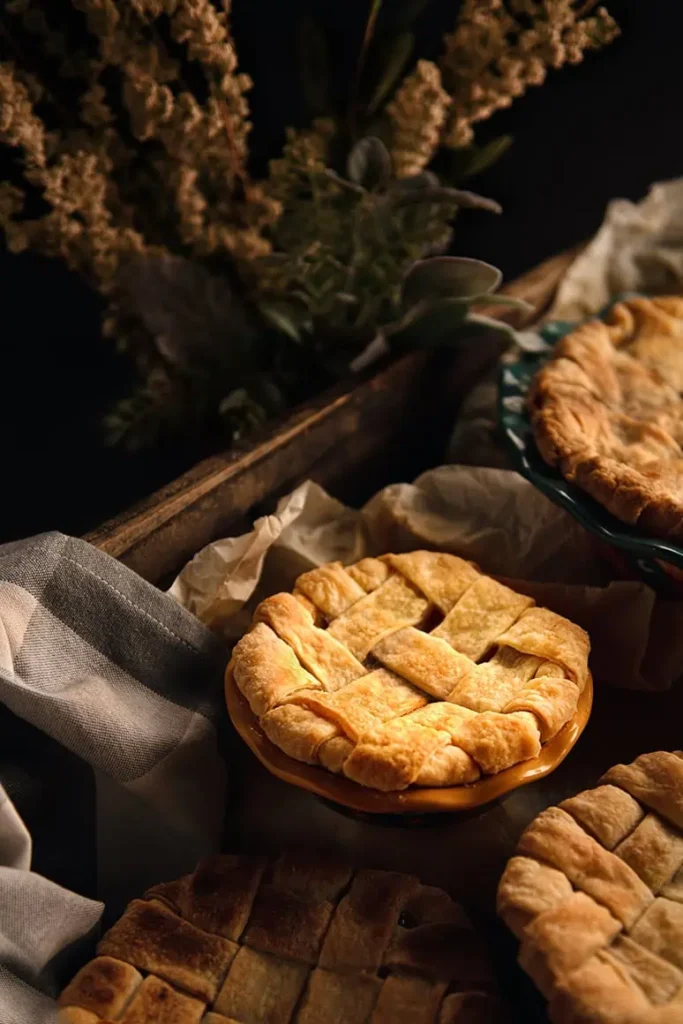
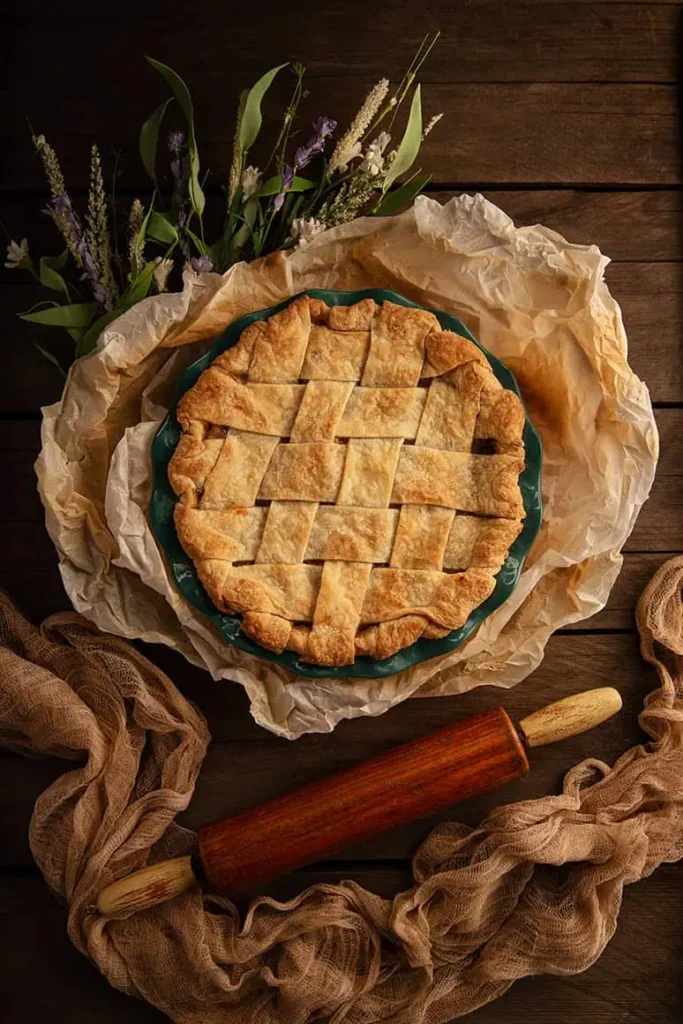
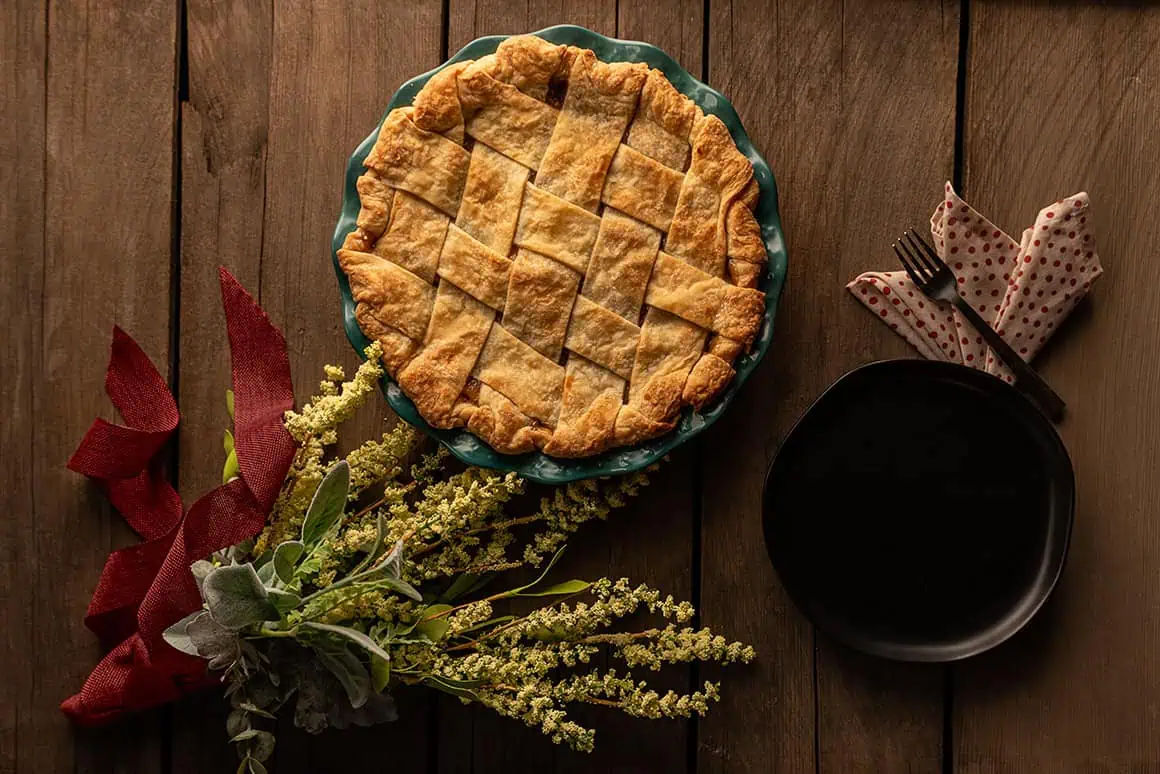
Lattice Top (Optional but Beautiful)
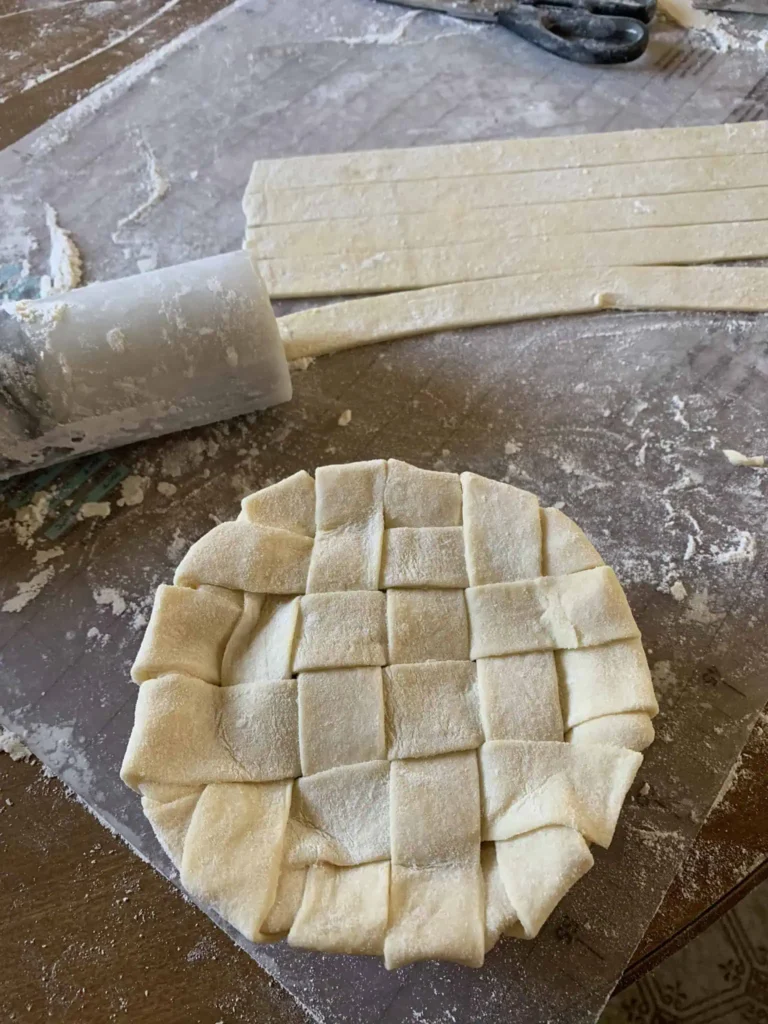
Roll the second portion of dough the same way.
Cut thick strips using a pizza cutter or sharp knife.
Lay half the strips in one direction. Weave the remaining strips over and under to form a lattice pattern.
If strips soften, chill briefly before continuing.
Trim excess dough and crimp the edges.
Before baking, refrigerate the assembled pie for 20–30 minutes. This helps prevent shrinkage and keeps those layers defined.
Troubleshooting Flaky Pie Dough
Why is my pie crust tough instead of flaky?
Overworking the dough develops gluten, which creates toughness. Mix just until combined and avoid excessive kneading.
Why did my crust shrink in the oven?
Stretching the dough while placing it into the pie plate causes shrinkage. Always ease it in gently and chill the assembled pie before baking.
Why is my dough sticky?
Your butter likely became too warm. Refrigerate the dough for 15–20 minutes and lightly flour your surface before rolling again.
Why isn’t my crust flaky?
Flakiness depends on visible butter layers. Make sure you flatten the butter pieces and keep everything cold throughout the process.
Can I freeze this pie dough?
Yes. Wrap tightly in plastic wrap and freeze for up to 3 months. Thaw in the refrigerator overnight before using.
Why This Flaky Pie Dough Recipe Works
This butter-based pie crust works because of controlled temperature and layered butter technique. The flattened butter pieces create steam pockets in the oven, producing lift and structure without toughness. If you love knowing why baking works (and not just hoping it behaves), Iowa State University Extension shares excellent tips on temperature, fat, and handling for crust success.
The result is:
• Golden edges
• Crisp texture
• Tender interior
• Reliable rollability
• No tearing or cracking
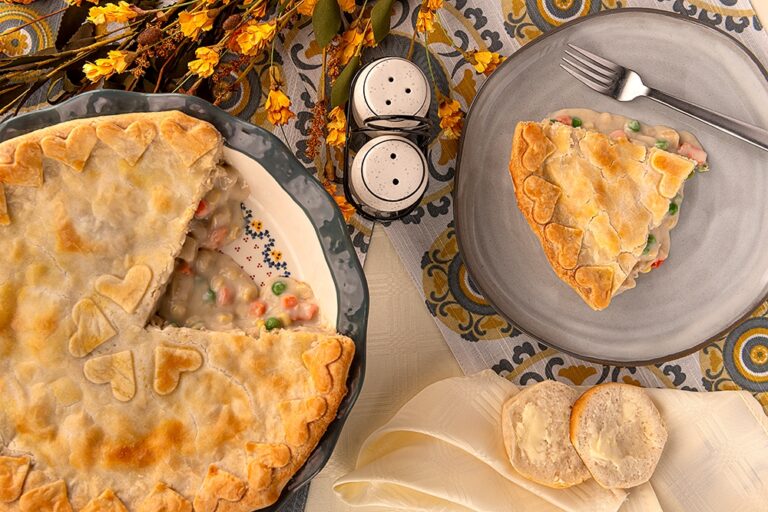
Once you make this successfully, it becomes your go-to flaky pie dough for apple pie, berry pie, tarts, quiche, and holiday desserts. This pie dough is perfect with our Classic Chicken Pot Pie Recipe.
A strong kitchen foundation. A true family favorite.
Pin & Share!!!